I have had a greenhouse for about 15 years. I love my greenhouse! Getting outside is a necessity for me.
We had to sell our home this year and moved to a different state. Basically starting from scratch, I knew a greenhouse was an important feature for me.
Moving from zone 7 to 5b is a big change. I knew the winds and sub-zero winter temperatures would be a challenge. We found a nice greenhouse kit that had high reviews for wind resilience.
The Challenges
The house itself needed MAJOR repairs before winter. This was priority (both time and money)
This year was riddled with supply shortages everywhere
It would be spring before we could have a concrete slab poured
We have LOTS of rocks on the new property but I had never done stone work before (until the hearth)
It was getting late in the year
Finding a Site
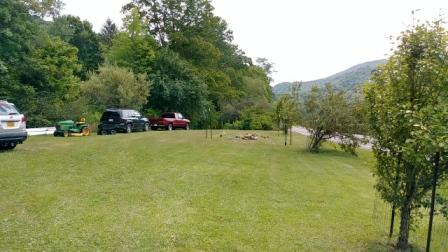
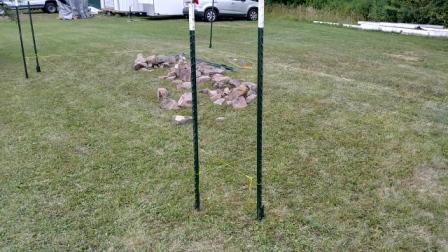
Our new yard is very skinny, so not many options here. I did call the county to check easement lines and building requirements. I also got a copy of our recorded septic field to verify we didn’t build on top of it.
Supplies
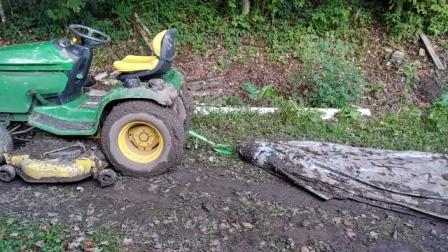
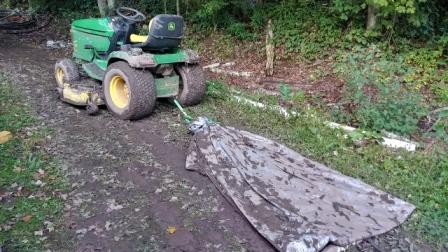
Rocks: There are a lot of rocks on our new property so we harvested as many as we needed for free.
Mortar: We used type S premixed mortar, which was in stock here. I forgot to keep an exact count but it was around 20 bags at about $8/ bag cost $160
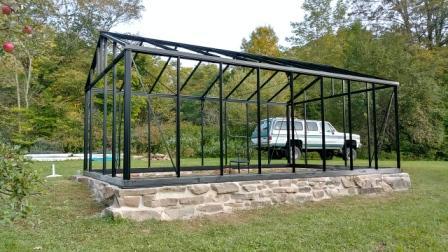
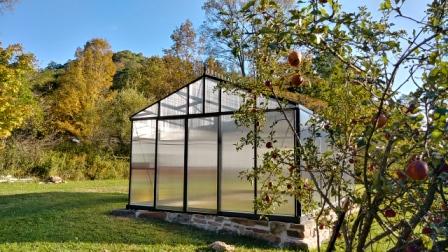
Greenhouse kit: BIGGEST EXPENSE I went all out on this one. I wanted something that would last a very long time under harsh conditions. We purchased an Exaco Janssens Royal Victorian VI46 Greenhouse 13ft x 20ft. The cost of it, including all extras we added to the order, was $18,500
Foundation
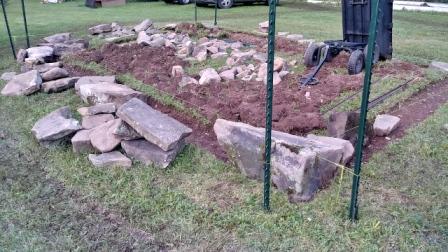
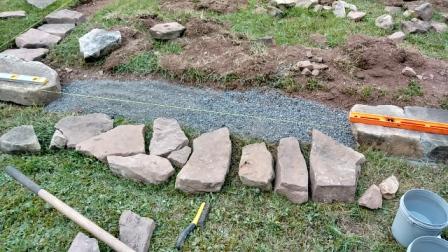
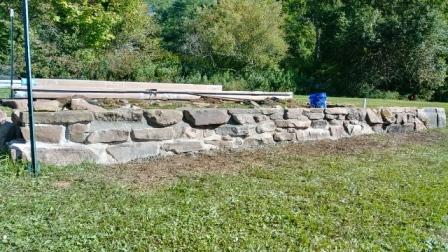
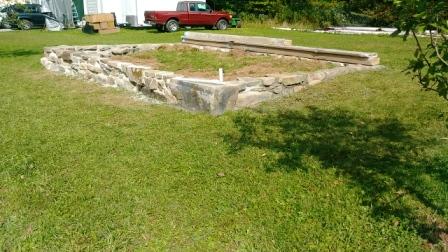
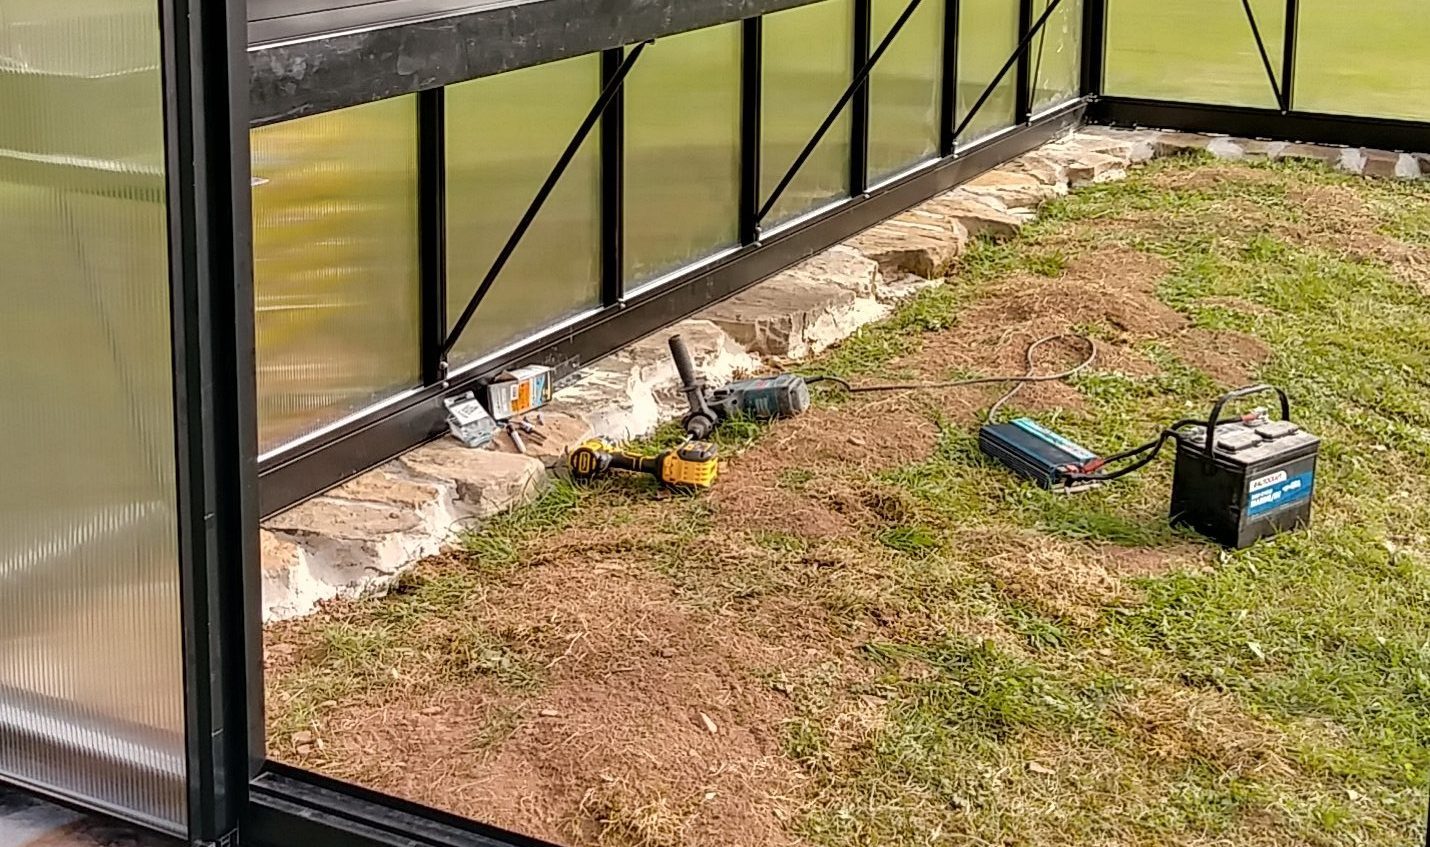
As we started digging the foundation trench, we discovered how much rock was under the soil. The grass was only about an inch blanket over a large rock base in places. Because of this, we didn’t put gravel down in much of the foundation. In the few spots we didn’t hit large rocks, we put down gravels. This also helped level the layers.
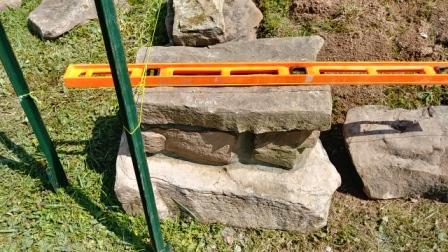
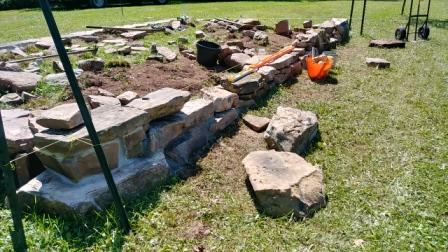
I am not a rock mason but I’m pretty good at fitting things together. I played with my puzzle pieces, working them together, to get the level top I wanted for the greenhouse to sit on.
We do not have a mixer so I mixed all the mortar in the wagon by hand. Some batches I made thicker or thinner depending on the application.
This was very time consuming but important since the greenhouse was going to sit on it. The greenhouse needed to be very level, square, and plumb to fit together correctly.
Kit Assembly
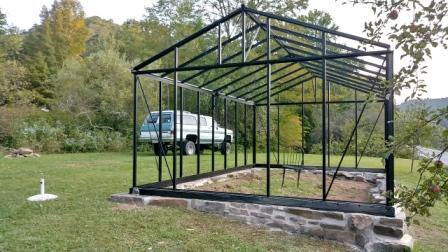
I was very pleased with this kit. They not only had detailed instructions included with the kit, they also had a very detailed and animated hour long assembly video to watch.
The kit is also designed so that one person can do most of it by themselves. There was a couple of times I did need help.
When setting the corner posts
Setting the main roof beam
Installing the roof panels
Installing the optional seed trays
Because the base was properly prepared (level and square) the kit went together fairly quickly
Just a note
I chose to get the polycarbonate instead of the glass with this kit. The main reason was insulation. The 10R polycarbonate slows heat transfer better than glass.
First Winter
It is late in the year. The temperatures are starting to get into the 20’s at night.
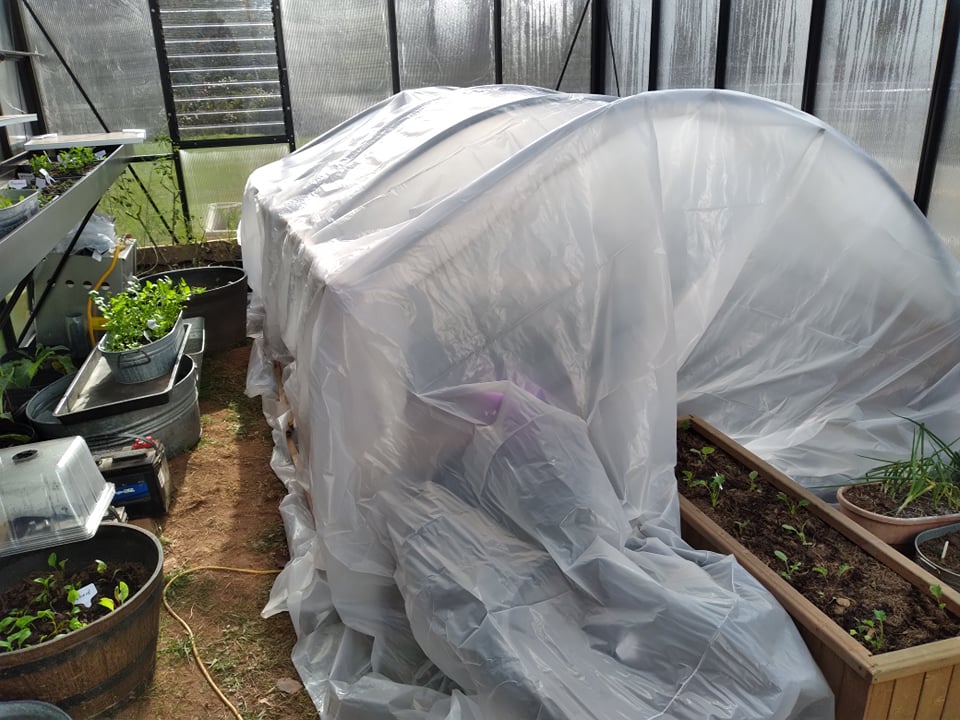
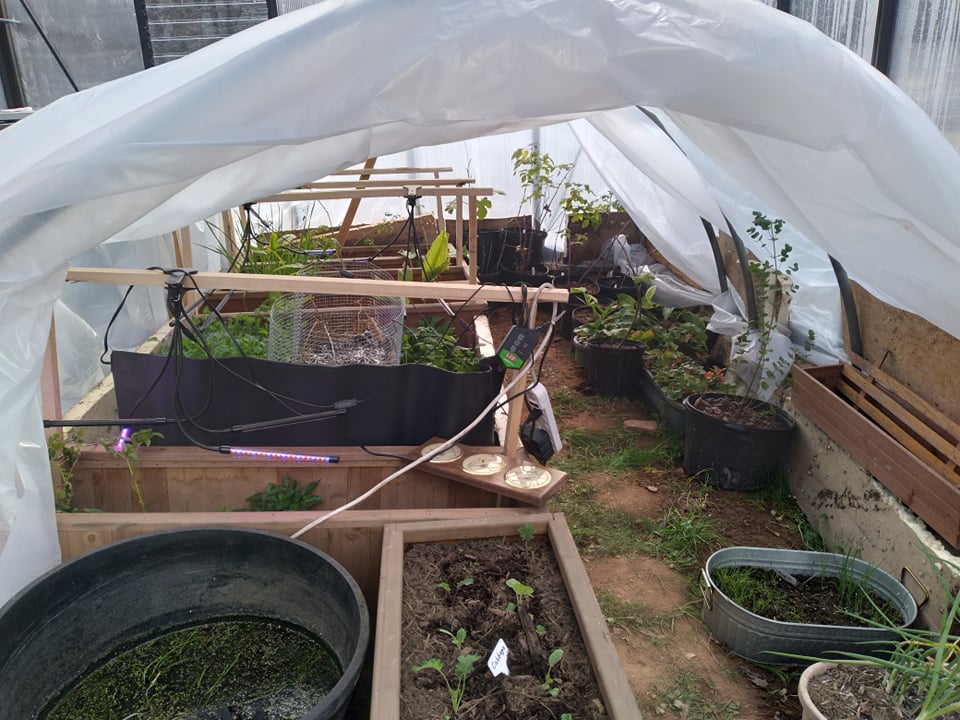
I didn’t have time to build up the inside. I made due with what I had on hand to help my plants over winter.
In the spring, I am planning on adding shelves, cold frames, north wall protection, etc.
Video
The video has many more pictures of the build.
Please check it out on YouTube and if you enjoy homesteading videos, please subscribe to my new homestead channel below!